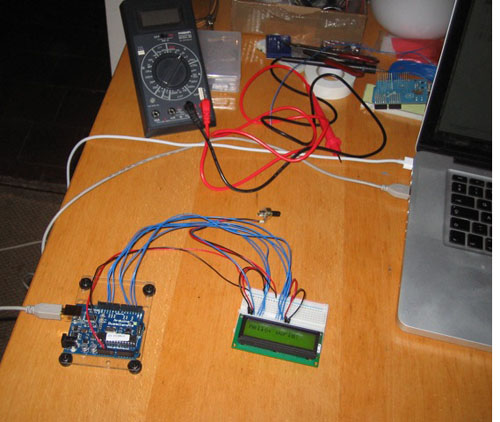
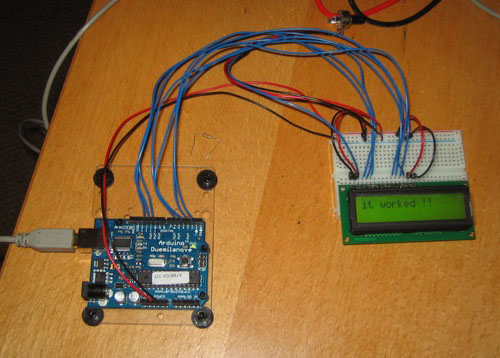
If the culmination of several hours work was seeing “Hello world!” appear on your computer screen you might be worried, or at least decide to use a different language next time. But there’s something very rewarding about seeing the same words appear on hardware device like a 16×8 Liquid Crystal display. Maybe it’s the fact that you’ve had to read the data sheet to understand how the thing wires up, maybe the risk that you’ll connect the pins the wrong way round and blow something.
Anyway here was my first attempt, took a little while to realise I had to adjust the contrast in order to see anything (that’s what the 5k pot hanging off the back of the breadboard is there for). But once you’ve figured out how to wire your particular model up (mine was a LMB162ABC from Topway) and supplied a reference supply to the Contrast (V0) pin, most of the really hard work like initialisation is actually taken care of by the Arduino LiquidCrystal library.

The standard library only seemed to deal with a single line of text, this may just be a case of needing to send a line break, but as I was testing it out via a serial connection my line breaks were causing the string to be sent. The LCD4Bit library solved this issue and also reduced the number of pins I needed to use to drive the display to just 6 (rather than the 7 used by the standard Library). This is achieved by permanently pulling the RW pin down to low (it’s unlikely your ever going to want to read information from the display)

Anyway, the next project is to tie it up to an Ethernet shield and send some data to it. After that I want to play with the little JPG module/camera that has just arrived from Hong Kong and see if I can send some pictures back the other way.